Sign in #
Sign in to your zoom account. If you don’t have the zoom app installed on your local machine, go to zoom.com and click Sign In.

On the sign in page click Sign in with Google. If you have a Zoom account that isn’t connected to your work email, choose a different option.
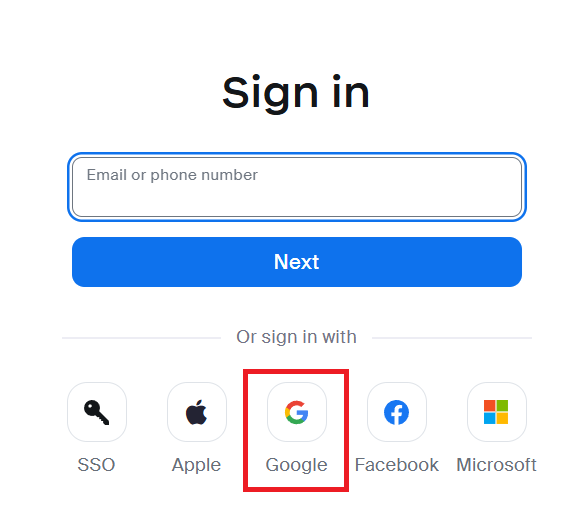
You’ll be taken to the Google sign in page. If you see your school account listed, click on it and sign in using your school password. If you don’t see your school account listed, click on Use another account and add it before signing in.
Setting up your sessions #
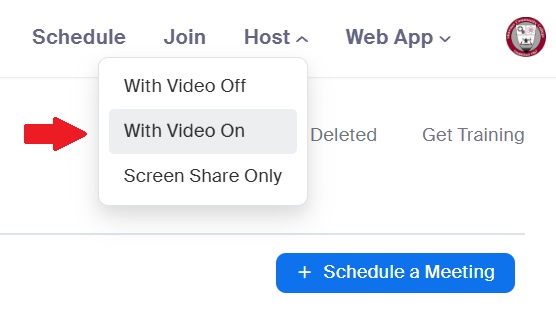
Now logged in, you’ll see your account page. You can start a session immediately by clicking Host a meeting and selecting one of the options there.
You can also schedule your session ahead of time and send invitations to your students. Select Schedule a New Meeting to do this. On the meeting scheduling page, fill out all the appropriate fields: Topic, Description, When, etc.
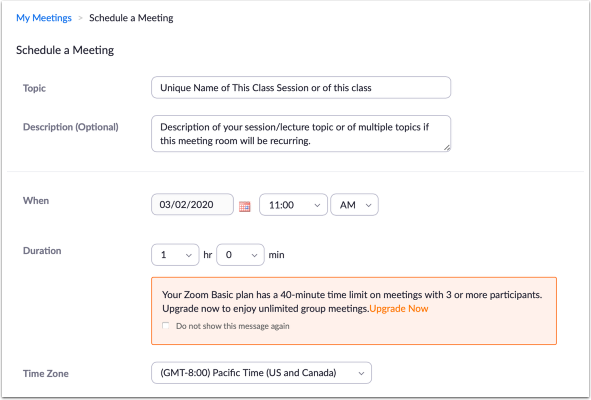
Decide whether you will reuse this meeting for multiple class sessions or just use a new meeting invitation for each session. One compromise is to use a single recurring meeting for a single week.
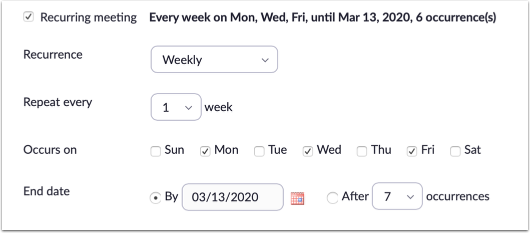
For a recurring class, first select Recurring meeting. Then set the start day and time (“When”) and an end date (“End date”). As well, for a class that meets every week set Recurrence to Weekly, and select the days of the week that the class Occurs on.
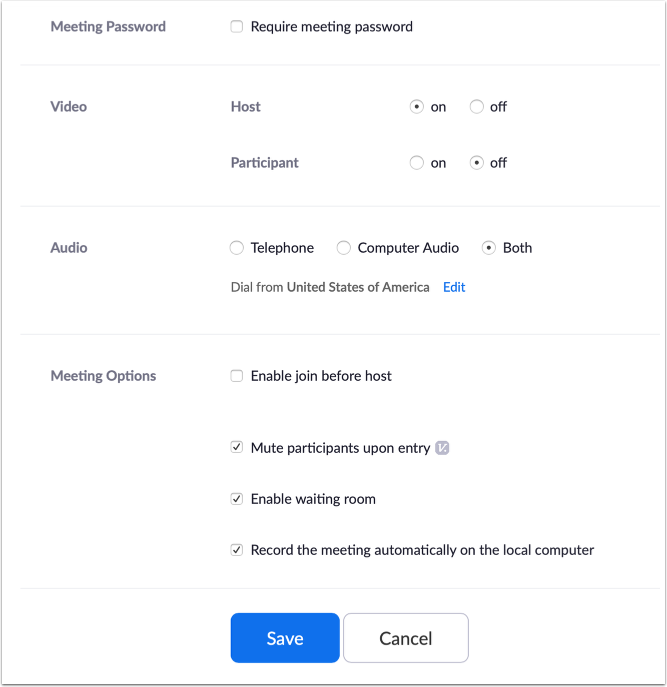
You can also choose a variety of other options for your meeting. For a typical class, you could, for example, set your Participants video set to off, set Audio to both Computer audio and Telephone (so students with low bandwidth can call in and listen), Mute participants upon entry, and select Record the meeting automatically on the local computer to give yourself a video file you can upload to a video sharing site for students later.
Many of these settings can be changed from within the live session.
Click Save when you are ready.