The Course Dashboard is the first page you see when logging in to Moodle. To see your courses, click on the My courses tab. This article describes the features on the My courses page.
Course Overview #
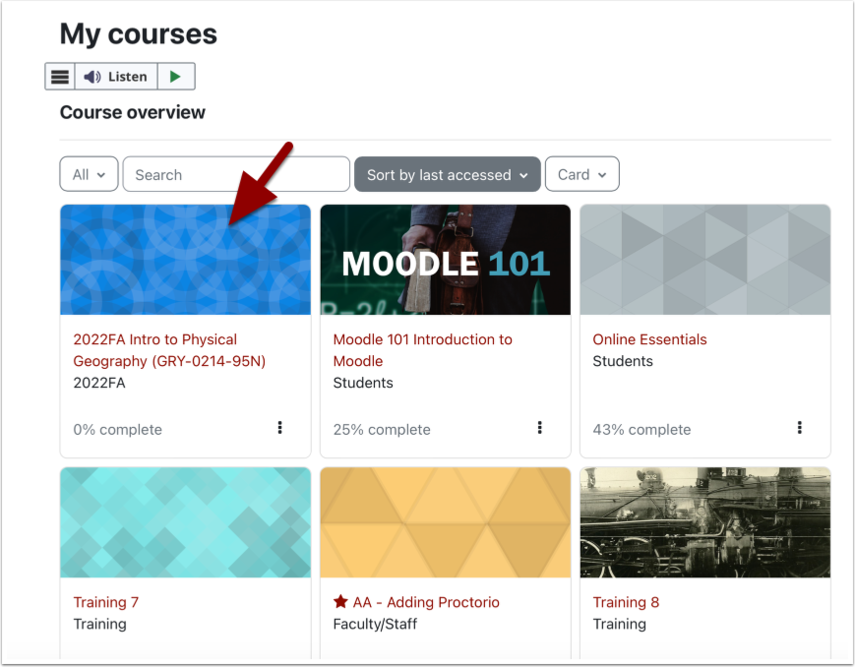
On the My courses page in your Course Overview, you’ll see tiles for each of the courses you are enrolled in within Moodle. Click on a specific course tile to access that course.

You can change what courses you see by opening the view menu and clicking a different option. The default option, “All,” shows you every course you have access to. But there are other views, such as:
- In progress – Courses show here that are between their start date and end date. These are your current semester courses.
- Future – Courses show here that haven’t reached their start date yet. If your instructor gives you early access to a course before the start of the semester, that course may appear here.
- Past – Courses show here when they have reached (or passed) their end date.
Click on any of these 3 links to filter just for courses that fit that filter’s specific criteria.
Course start and end dates are set by the College and are transferred to Moodle automatically when the courses are created.
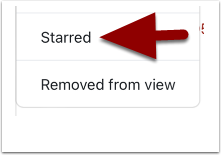
Create a Custom List with Starred Courses #
In the filter menu below the Past filter is the Starred filter. If you “star” a course, that course will appear under this link.
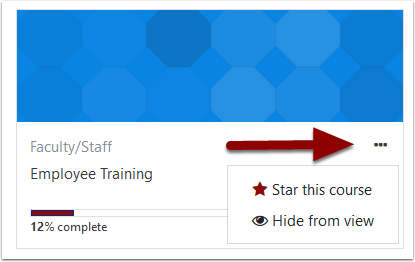
To star a course, click on the three small dots to the right of the course name. and select Star this course.
Once you’ve starred your course(s), return to the filter menu and select Starred. You should now see your starred courses in the Course overview. It’s easy to create a custom list of courses by starring them.